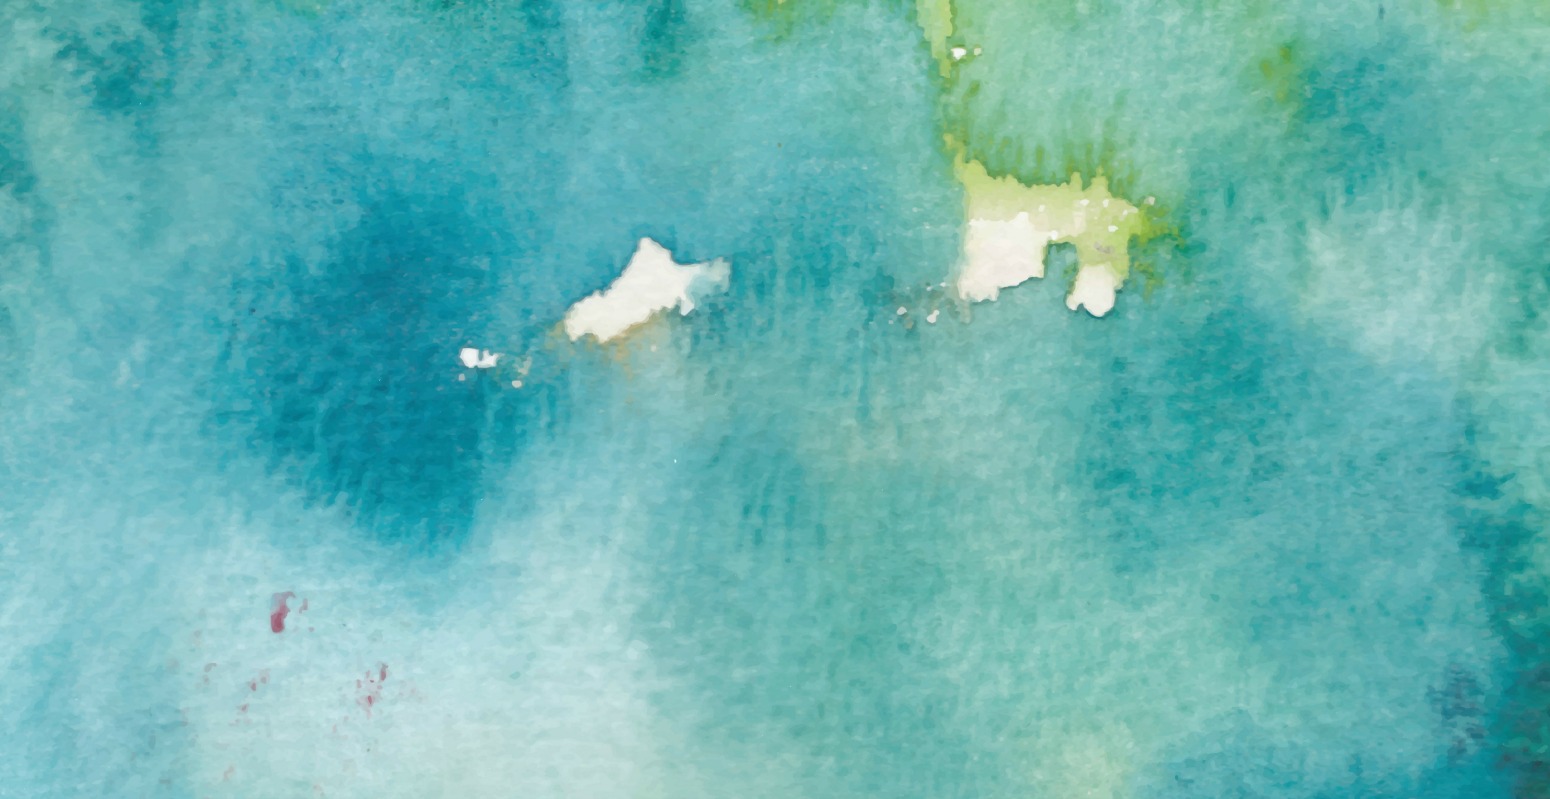

Artwork is expensive, but it does’t need to be.
YES, that’s right! Don’t spend a lot of money on artwork.
You can make your own artwork for far less money. I promise even if you aren’t an artist you can make this incredible piece of artwork.
Let me show you how I made the artwork for our fireplace.
Total cost…..$5
No joke I promise that’s all! I will show you how I did this.
I originally got the idea to create artwork with texture from My Clever Nest.
The Supply List
- Something to paint on. This could be a canvas, a piece of plywood, or heavyweight paper.
- Size is up to you – I used a 30″ x 30″ wood packaging that a tile came in. So it was FREE!
- A 1/2″ paint brush
- Spackle
- A 1-1/2″ putty knife
- White paint
- A cup of water to clean brush
- 8-10 Acrylic Artists Paints (this is the only thing I needed to buy)
I always try to use what I have on hand to reduce costs of decorating projects.
How to Make Textured DIY Artwork
- Texture the Canvas – Using the spackle and putty knife to create an uneven texture. This is meant to look like artist oil paint texture. I applied a hefty amount and stroked from left to right.
Hannah loves helping daddy with projects around the house.
- Let Spackle Dry – let dry for at least 24 hours. It may take longer to dry because of the heavy texture you may need to let it dry for 48 hours.
- Prime the Canvas – Next I painted the whole thing white to give me a primed surface to paint on with the color paint.
- Select Your Paint Colors – I created an abstract beach scene because it fits into the planned theme for our family room. The goal is to create a gradient effect. So whatever color scheme you select, buy several shades of each color. This way you can blend all the shade to together as you go (darkest to lightest)
- Criss-Cross Brush Stroke is Your Friend – After the primer dries, I started at the bottom with my tan sand color. I mixed in a little black first and then white to make light and dark sand. Using a criss-cross brush stroke I made sure all the texture got painted and blended each color together. But don’t you need to use the criss-cross stroke all the time. It is just the main way I used.
- Smooth Transitions – The goal is for your transitions between shades and colors to be smooth. You shouldn’t see a definite change in color. As you paint you may need to back and forth between dark and light shades to get a smooth look.
- Dark to Light – as I said before paint from dark to light shades always blending two shades together as you paint. I blend the blue-teal shades so it gradually transitions to white “clouds” on the horizon. My hint is to stop blending right when you think you need to do more. It is at that moment you should stop. With any painting, I have found it is important to know when to…STOP! Tweaking too much will drive you crazy and you may go too far wishing you have stopped.
- Let Your Masterpiece Dry
- Hang it – finally find a proud place to display your DIY inexpensive but expensive-looking artwork.
Have Fun
I had a lot of fun painting this artwork for my fireplace. I hope you have fun doing this project as well.
Creating your own paintings for your home not only saves you money but also gives your home decor a personal meaning.
If you liked this DIY post, please share it with your friends. You sharing this post is huge way you can say thank. I love hearing from you.
Thank you,